Just imagine a situation where a hit movie or an attractive video production company is beset by audio and video that feel out of synchronization. The situation is indeed so annoying! At this point, you may be a little nervous about undertaking audio and video synchronization, thinking it to be a challenging task for a non-professional on par with a true professional.
But fear not! In this post, we will explain how one can synchronize sound with a video they are creating and what can be done to ensure that synchronization is done perfectly so that they get a perfect result for their project.
Without further ado, let's jump in!
Navigation
- Part 1: Pre-Production Preparation & Requirements
- Part 2: High-Quality Audio-Video Synchronization with Wondershare Filmora
- Part 3: Professional Tips for Getting Accurate Sync
- Conclusion
- FAQs
Part 1: Pre-Production Preparation & Requirements

In this first part, we will be concentrating on the pre-recording preparation known as pre-production, and the things that are needed for this phase. Just like the pillars that support a house, without a good start, the rest of the house will collapse.
There is always a need to set up and plan what you want to record before you actually do it. This can really save a lot of your time and guarantee that, at the end of the day, the outcome is worth your while.
Define Your Project Scope
It is important that a clear idea of what is expected to be accomplished with the recording session be laid out. Here, you should define what exactly are you going to achieve when your project is complete. What is the message that you want to pass across? Being aware of this will help you keep an eye on the reward throughout the process.
Choose Your Equipment
Choose the correct tools for the task. It may be useful to buy a good camera, a good microphone, and a tripod to make your videos better. Be sure that they are suitable and conformable to your type of recording session.
Plan Your Setup
Figure out your preparation for the camera, microphone, or lighting. Take into account the sound reflections of the room where you are recording and arrange the equipment accordingly.
Consult with Your Team (If You Have One)
If you are operating with a team, make sure everyone understands what the individual members are supposed to do. Divide work, establish timelines, and ensure that everyone has a common understanding of the plan of action.
This way, you will be fully prepared when it comes to recording and the session will turn out to be a successful one.
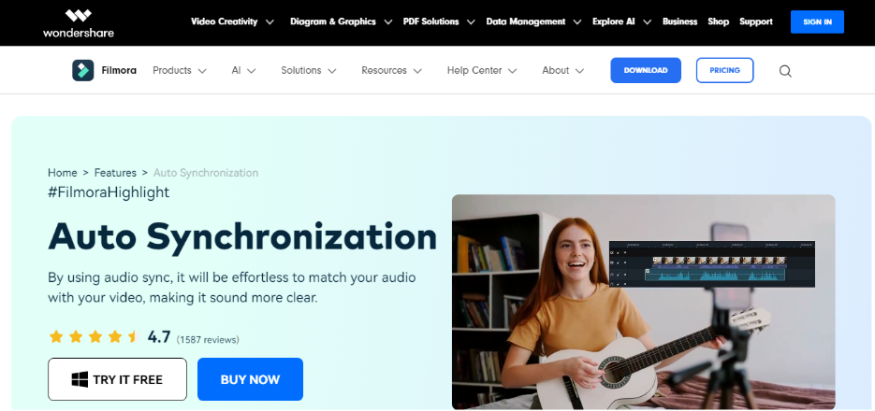
Part 2: High-Quality Audio-Video Synchronization with Wondershare Filmora
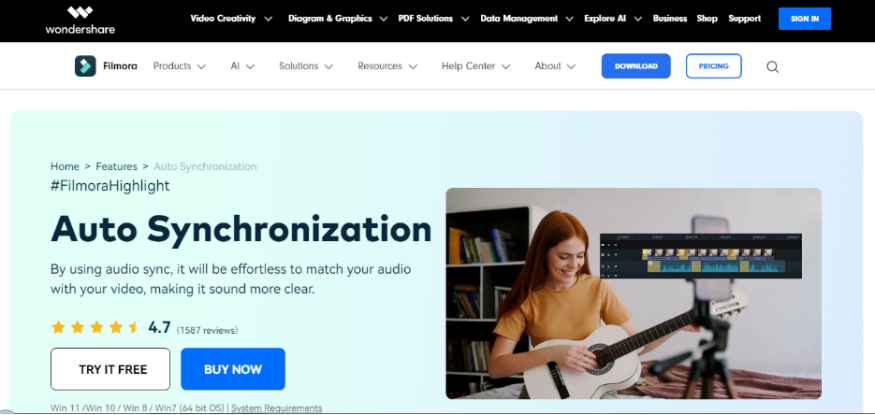
Wondershare Filmora is one of the best video editors as it has a more enhanced feature that helps to sync video and audio, making it among the best for any creator who intends to synchronize their audio with the videos.
By using Filmora, users can also analyze the audio timing of their audio tracks and make corresponding adjustments toward the audio pitch of the given video clips to make the final output look even better.
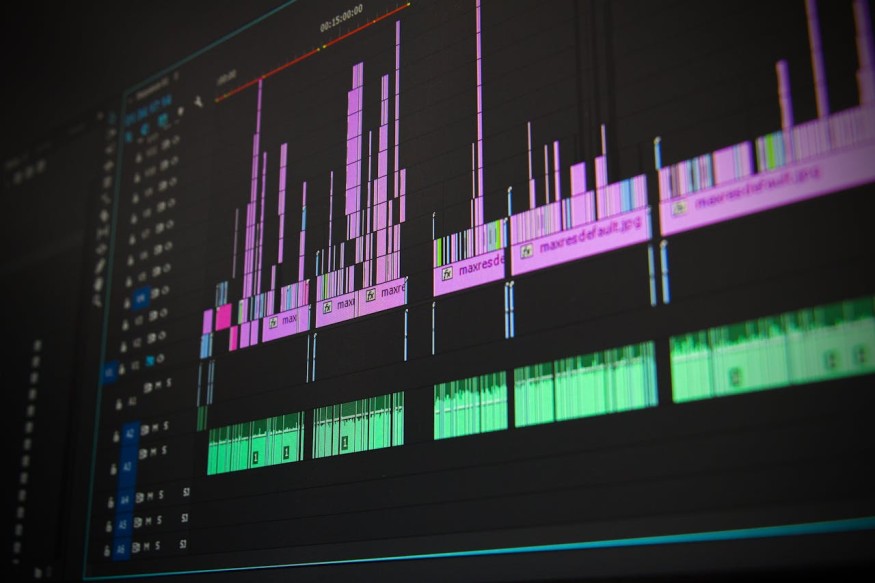
What is Audio-Video synchronization?
Now before we go on to the steps, allow us to explain what audio and video synchronization are all about for the few viewers who may not have a clear understanding of the term.
In simple terms, it refers to the ability to sync audio to video perfectly, where all connecting elements of a video are in harmony.
Why is it important to match audio to video?
One of the most important things that needs to be done in order to make the video look professional is to automatically sync audio and video. When your audio and your video are not in harmony, it becomes disruptive and may, at times, make it difficult to fully enjoy the video.
Suppose you are watching a film and the characters speak a few lines later than they should or they sing in a scene and their lips are not in sync-it is all awkward and uneasy.
Audio-Video Synchronization: Step by Step Guide
Well, here is how to efficiently create high-quality audio-video synchronization with Wondershare Filmora.
Make use of Wondershare Filmora's auto-synchronization feature.
This great tool to auto-sync video and audio enables you to adjust the time of your audio and video parts in Wondershare Filmora. All that is needed to be done here is to choose the audio track to sync and then fine-tune the changes using the handy setting tools.
Let's go in more depth by checking its step-by-step guide.
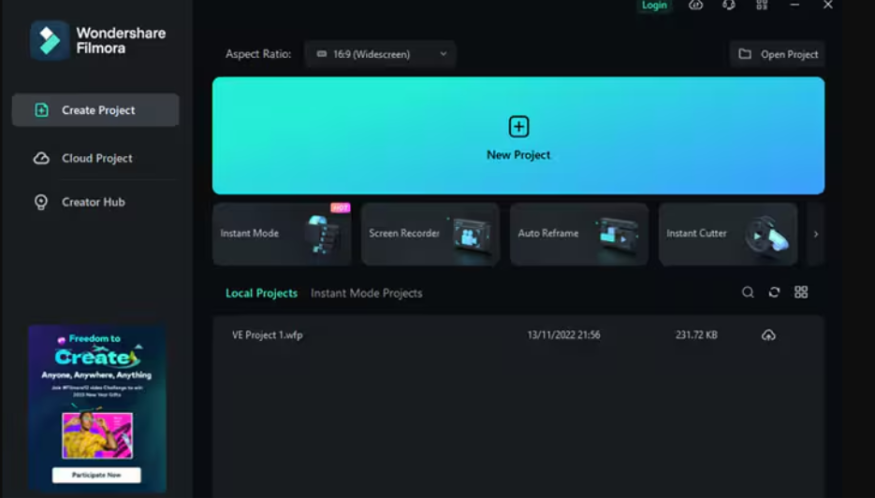
Step 1: Download Wondershare Filmora, an audio synchronization software, from the official website. Following that, immediately install the software on your device.
Step 2: When the installation is finished, select the "New Project" tab.
Step 3: To add video and audio files, click the "Import" button.

Step 4: Drag your video and audio files to the timeline to begin.
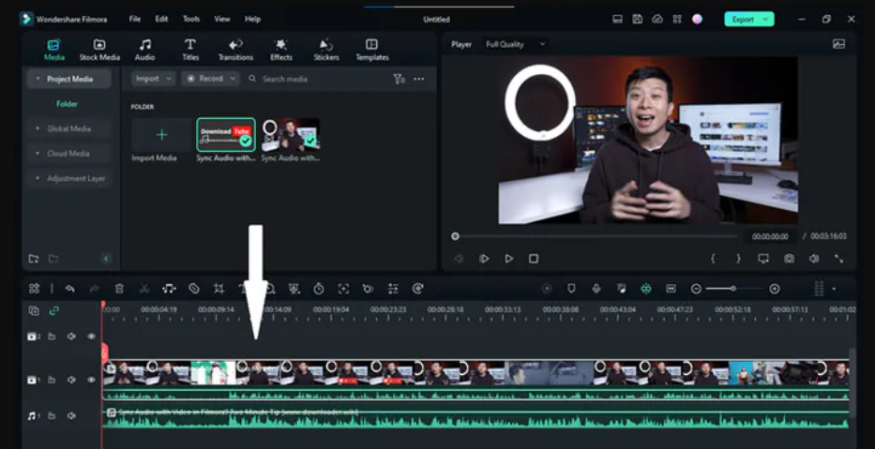
Step 5: Tap the auto synchronization icon located above the timeline icon and a small miracle happens. This step is mandatory if you want to automatically sync audio and video.

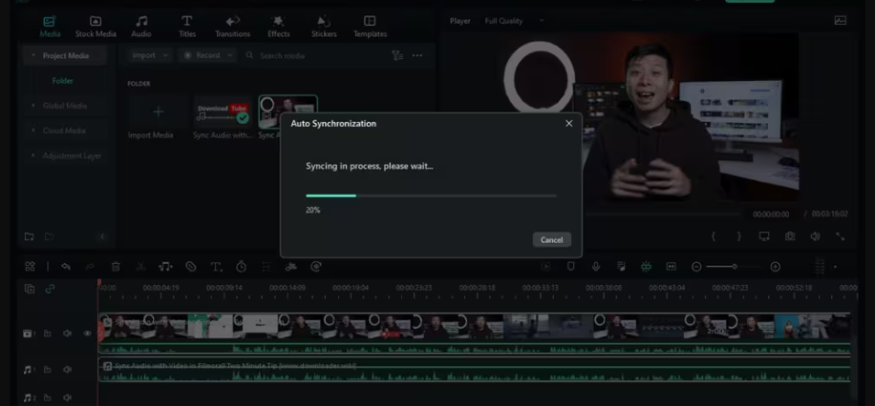
Step 6: Your files will begin to sync with Wondershare Filmora, and a "Synchronization in process" message will show up on the screen. Hold off until that specific step is completed.
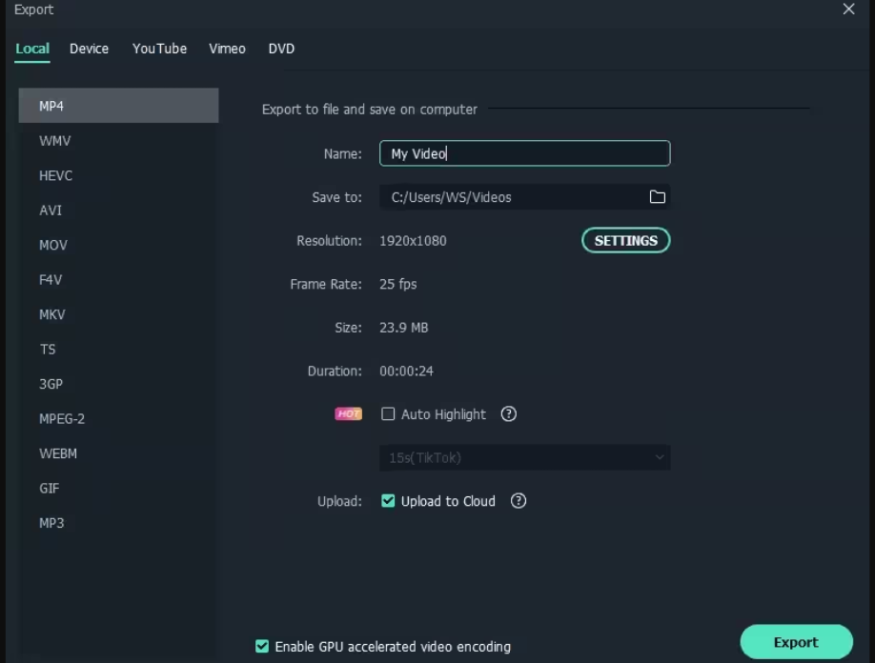
Step 7: After removing any extraneous content from the recorded video, choose the audio component and click the "Export" option.
Note: We would like to inform the users that to enable the Auto Synchronization feature in Wondershare Filmora software, the user will be required to possess a Premium ID.
This is one of the best tools we have come across because it is very easy to use. Isn't it? Well, anyway, to answer this question, why are you delaying? Do not waste time and download Wondershare Filmora now, it will be useful for you.
Part 3: Professional Tips for Getting Accurate Sync
Now let's go into some professional tricks that will assist you in achieving correct synchronization. Follow these expert-approved strategies to take your video editing skills to the next level:
Tip 1: Use a clapperboard.
Before you begin your recording, use a clapperboard, or what is commonly referred to as a clapboard, to signal the beginning of the shot. It assists you in finding out the precise start and stop of your audio and video tracks. When recording claps, ensure that you clap sonorously so that the system's recording sound can easily pick up the clap.
Tip 2: Record audio and video at different times or using different equipment.
This is particularly important if you want to have minute control over the sound quality and input: have your audio and video parts of the record recorded separately. This way, you can set the sync in post-production without having to lower the quality of the output. Always record with an external microphone and a clear, bright camera for capturing great videos.
Tip 3: Use a timecode.
Ensure that if your camera has a time code feature, this should be activated. A timecode is used to conveniently link audio and video files where a code is implanted in the file. This also enables synchronization, whether working on a number of cameras or when a number of editors are working on the same project.
Using the mentioned professional tips will help you get rid of the problem related to the inaccuracy of the sync. It is important that, when it comes to video and audio, much attention and care be given to how they are matched.
The art of syncing is not hard to pull off once you've practiced it several times without the patience to do an excellent job.
Conclusion
In this blog post, we have taken you through the numerous ways through which non-professional individuals can DIY their audio and video synchronization. However, Wondershare Filmora and its enhanced capabilities will certainly help everyone enhance their filmmaking capabilities to the next level.
With these DIY audio and video sync guidelines and Wondershare Filmora, the video-cutting tool, you will never lag in your videos or blogs.
FAQs
Q1: What is the best way to synchronize my audio and video files?
The best way to synchronize your audio and video files is by using a combination of timecode synchronization and manual adjustments.
Q2: Can I use multiple audio tracks in my project?
Yes, you can use multiple audio tracks in your project by creating separate audio tracks for each voiceover or music track.
Q3: What are some common causes of out-of-sync audio and video?
Common causes include incorrect settings, low-quality files, or incorrect importing of files.


